


Mercedes light package repair involves recalibrating sensors for optimal safety and lighting performance after auto restoration or collision services. This process includes parking in well-lit areas, using specialized software to connect to the OBD system, adjusting sensor settings based on light levels, and thorough testing. Meticulous troubleshooting identifies issues like damaged sensors, open circuits, or power supply problems, requiring recalibration for accurate performance.
After a Mercedes light package repair, calibrating sensors is crucial for optimal lighting performance. This guide details the process, walking you through understanding your vehicle’s light sensors, their function, and location, followed by a step-by-step calibration procedure. We also provide testing tips and troubleshoot common issues encountered during the calibration of your Mercedes light sensors to ensure a seamless driving experience post-repair.
- Understanding Mercedes Light Sensors: Function and Location
- Step-by-Step Calibration Process After Repair
- Testing and Troubleshooting Common Issues
Understanding Mercedes Light Sensors: Function and Location

Mercedes light sensors are integral components that play a crucial role in enhancing safety and visibility for drivers. These sensors, strategically located throughout the vehicle, detect ambient lighting conditions and adjust the brightness of the headlights accordingly, ensuring optimal illumination during various driving scenarios. The system is designed to automatically calibrate minor adjustments, but significant repairs or replacements may require professional intervention to maintain precision.
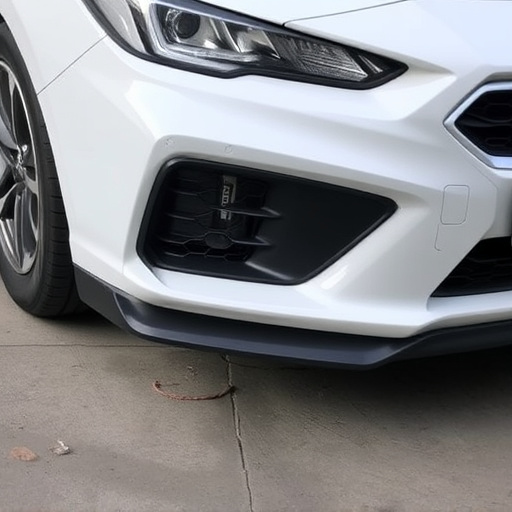
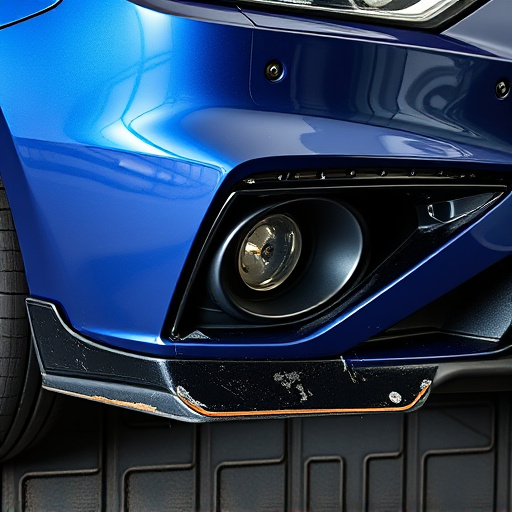
In terms of location, Mercedes light sensors can be found in areas such as the headlight housing, front bumper, and sometimes even the grille. After a Mercedes light package repair, including auto restoration or car collision repair procedures, it’s essential to recalibrate these sensors for accurate performance. This process ensures that the headlights respond correctly to changing light conditions, providing drivers with consistent and safe lighting during their journeys.
Step-by-Step Calibration Process After Repair

After a Mercedes light package repair, calibrating the sensors is crucial for optimal lighting performance and safety. Here’s a step-by-step process to ensure accurate results. Begin by ensuring your car is parked in a well-lit area, away from direct sunlight or shadows that could interfere with testing. Next, power on the vehicle and allow all systems to initialize completely. With the engine running, access the vehicle’s onboard diagnostic (OBD) system using specialized software designed for Mercedes vehicles. This will enable you to monitor sensor readings in real time.
Now, initiate the calibration process by following the manufacturer’s guidelines. This typically involves a series of driving maneuvers at specific speeds and under varying lighting conditions. During this phase, the sensors adjust their settings to match the current environmental light levels accurately. Remember, precise execution is key; avoid abrupt movements or sudden stops as these can disrupt sensor calibration. Once complete, test the lights thoroughly in both automatic and manual modes to confirm proper functionality before considering your Mercedes light package repair job fully accomplished—free from glitches and ensuring a safe driving experience.
Testing and Troubleshooting Common Issues

After a Mercedes light package repair, thorough testing and troubleshooting are crucial to ensure optimal performance. Start by inspecting each sensor for any visible signs of damage or debris that could interfere with its operation. Clean the sensors gently using specialized cleaning agents recommended for automotive components. Next, utilize a multimeter to check the resistance across the sensor’s leads, comparing readings against manufacturer specifications. This step helps identify open circuits, bad connections, or faulty sensors.
If issues persist, consider factors like power supply voltage fluctuations and environmental conditions that might affect performance. In some cases, sensors may require recalibration due to age or previous repairs. Remember, accurate troubleshooting is key to addressing common problems associated with Mercedes light sensor malfunctions, ensuring a safe and efficient vehicle lighting system—a vital component in both everyday driving and emergency situations.
After repairing or replacing a Mercedes light sensor, calibrating these essential components is crucial for optimal vehicle performance. By following the step-by-step process outlined in this article, including testing and troubleshooting common issues, you can ensure your Mercedes’ light sensors function correctly and enhance safety on the road. Remember that proper calibration of the Mercedes light package repair is key to maintaining a safe and efficient driving experience.