


Mercedes light sensors, crucial for safety and visibility, detect light conditions to adjust headlamps. After a repair, calibration ensures optimal performance. This involves identifying and adjusting sensors near headlights, taillights, and turn signals using specialized equipment. Thorough testing is essential to verify sensor functionality and identify any issues. Regular maintenance includes individual sensor testing against manufacturer specifications.
After repairing or replacing a Mercedes’ light sensors, proper calibration is crucial for optimal vehicle performance. This guide breaks down the process, offering a comprehensive step-by-step approach to ensuring your Mercedes’ advanced lighting system functions seamlessly. We’ll explore the location and function of these sensors, provide a detailed calibration procedure, and offer troubleshooting tips for common post-calibration issues related to the Mercedes light package repair.
- Understanding Mercedes Light Sensors: Function and Location
- Step-by-Step Calibration Process After Repair
- Testing and Troubleshooting Common Issues Post-Calibration
Understanding Mercedes Light Sensors: Function and Location

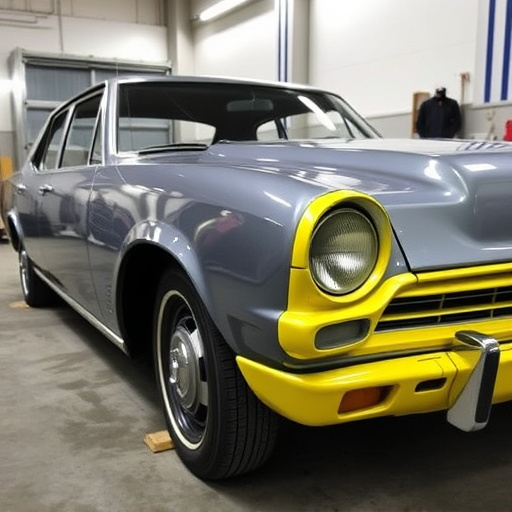
Mercedes light sensors are integral components that play a crucial role in enhancing vehicle safety and visibility. These sensors are strategically placed around the car to detect light conditions, such as brightness and intensity, aiding in automatic adjustment of headlamps for optimal illumination. Understanding their function is essential when undertaking a Mercedes light package repair.
In terms of location, Mercedes sensors can be found near the headlights, often integrated into the lighting assembly or mounted on the vehicle’s body. They could be part of the adaptive headlight system, which adjusts beam patterns to reduce glare for oncoming drivers while maximising road illumination during night driving. Other common locations include fog lights and taillights, where sensors help trigger their activation based on weather conditions and surrounding light levels. An auto collision center or tire services might assist in identifying and addressing issues with these sensors after a repair or in the event of hail damage repair.
Step-by-Step Calibration Process After Repair

After a Mercedes light package repair, calibrating the sensors is crucial to ensure optimal performance and safety. Here’s a step-by-step process for a successful calibration:
1. Preparation: Begin by ensuring your vehicle is parked in a well-lit area away from direct sunlight or other strong light sources that could interfere with the test. Make sure all lights are off except for the ones you’re calibrating, and any other electronic components related to lighting are inactive.
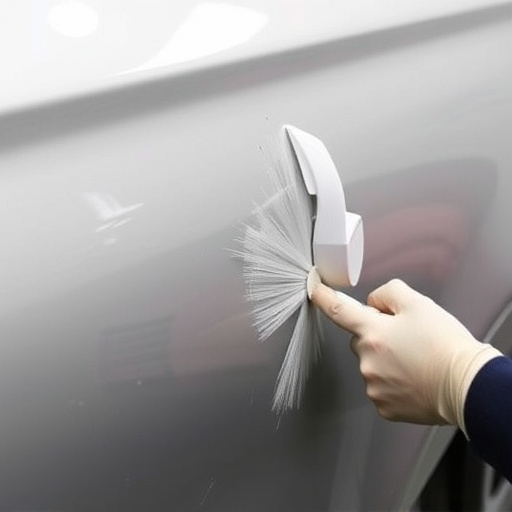
2. Calibration Process: Next, locate the sensor or sensors needing calibration. These are often found near the headlights, taillights, and turn signals. Using specialized equipment designed for Mercedes light package repair, such as a diagnostic scanner or a dedicated calibration tool, follow the manufacturer’s guidelines. The process typically involves scanning and resetting the sensor’s memory, adjusting sensitivity levels, and verifying performance against predefined parameters specific to your Mercedes model. For complex cases involving paintless dent repair or bumper repair, an expert auto painter might need to be involved for precise adjustments.
Testing and Troubleshooting Common Issues Post-Calibration
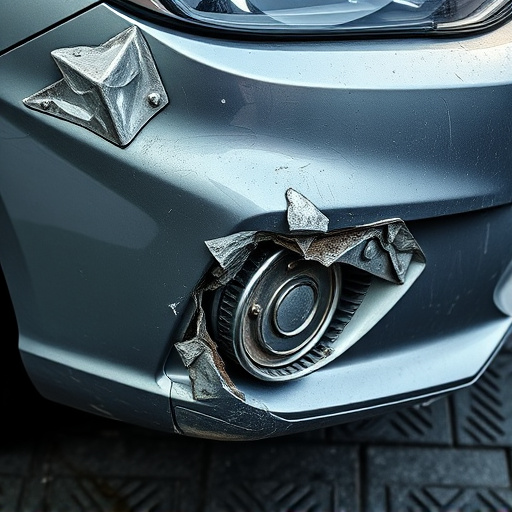
After calibrating your Mercedes light sensors following a repair, it’s crucial to test and troubleshoot any potential issues that may arise. Begin by ensuring all lights function properly, including headlights, taillights, and turn signals. A common issue post-calibration is inconsistent light output, which could indicate sensor misalignment or a loose connection. Check for any visible damage to the sensors themselves; a simple visual inspection can often reveal a faulty unit in need of replacement.
Additionally, pay close attention to indicators on your vehicle’s dashboard. If warning lights related to lighting systems remain illuminated after calibration, these may point to underlying problems. Further troubleshooting could involve testing each sensor individually and comparing readings against manufacturer specifications. Regular auto maintenance plays a vital role in preventing future issues, especially when it comes to delicate electrical components like Mercedes light sensors, ensuring optimal performance and safety during auto glass repair or scratch repair processes.
After repairing or replacing a Mercedes light sensor, proper calibration is crucial for ensuring optimal vehicle performance. Following the step-by-step process outlined in this guide will help you accurately calibrate the sensors and maintain the safety and efficiency of your Mercedes’ lighting system. Regular testing and troubleshooting are essential to identify and resolve any issues early on. Remember, a well-calibrated light sensor package repair can significantly enhance driving conditions and prevent future problems.